how to make paint on a pumpkin dry faster
Give the sealer time to dry before you move on to paint the pumpkin. Let the pumpkin dry after you paint it one solid color.

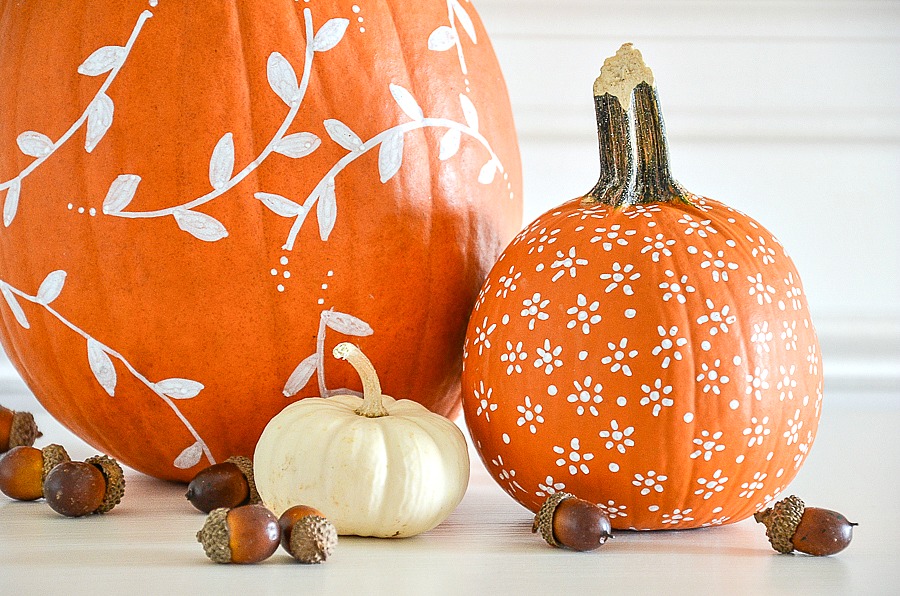
Tips For Painting Pumpkins Faux And Real A Wonderful Thought
Allow to dry for 1 hour in-between coats of paint.

. Although this step is optional it may help the paint to stick to the surface. You could probably use any white paint available but I choose a paint I already had at home. Spray the stencil with adhesive spray and cover with glitter.
Simply mix 1 teaspoon of bleach per 1 gallon of water making enough to completely submerge the pumpkin. Mix the desired color of paint that you want and paint the pumpkin all over. Wash with a mild soap and water solution.
Repeat dry brushing with the brown then allow the pumpkin to dry completely. Drink if you smudge the paint. Another way to speed up the drying time of your oils is to simply replace your most frequently used colors with alkyds.
Allow the paint to dry for a minute or two Lightly dry brush on a rough coat of orange I used a chunky bristle brush for this. Paint the whole pumpkin with Multi-Purpose Sealer figure 1. Heavily spray the solution all over the inside and outside of the pumpkin.
Start with a clean dry pumpkin. Start by dipping the entire pumpkin in white paint and letting it dry. Using oil paint in fast-drying colors and alkyd paint in slow drying colors is also an effective way to reduce the drying time.
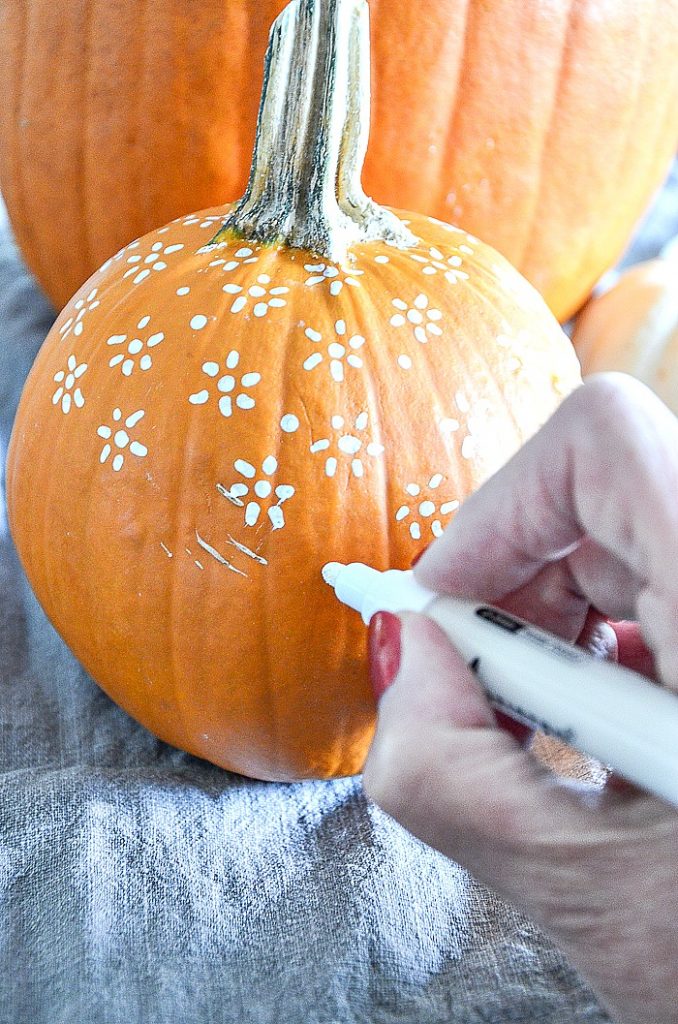
Pumpkins are glossy so the spray paint adheres really well. Try not to wet the stem and the blossom end part because it will make your pumpkin go bad faster. Pour a good amount of paint onto your pumpkin starting at the very center.
For better adhesion use a craft sealant acrylic ground or gesso as a primer before painting. Use a paper towel to dab on your second paint color. I found that it helped to gently tilt your pumpkin to help the pain flow a little faster and create.
If you are painting a faux or foam pumpkin there is no prep involved. Use a brush to apply a liberal coat of sealer evenly to the entire surface of the pumpkin and allow to dry thoroughly. To paint your pumpkin start by applying a light coat of cream paint I used a foam brush for this coat.
After the 8-hour soak remove pumpkin and pat completely dry with paper towels. First start with your bare pumpkin. Then do it two-thirds in orange paint and then let it dry.
Use a container with a shallow layer of water to keep the brushes wet without soaking the handles which will cause the lacquer to peel off and another. Continue to keep adding coats of white paint until the desired coverage is what you like. After the pumpkin has been cleaned with the bleach solution let it dry completely before you begin carving.
Using a foam or bristle brush paint the pumpkin with the darkest shade of paint first. Soaking your carved pumpkin in bleach water for 8 hours will preserve it for several days longer than if you had left it untreated. Circulating the air where your paint is drying will increase the rate of evaporation for the water in the paint.
Circulate air by turning on a fan. Scrub gently so that you dont bruise or puncture the skin. Another option is to mist pumpkins with a light coat of Americana Matte Spray Sealer and set aside to dry.
Add a light coat and let it dry completely before painting. Mix 1 part bleach with 3 parts water. If you plan to paint the stems spray paint those too.
Decide upon the desired color for each pumpkin before you begin painting. General tips for painting your pumpkin. Keep your brushes in the water while youre painting so that the paint doesnt dry in them.
Painting the pumpkin so it completely covers take a few coats. You can splatter your paint on a pumpkin by coating a craft brush or toothbrush with paint and lightly tapping it over the entire surface several times. Spray paint your pumpkins with flatmatte paint its the fastest way to get a good base coat.
Clean this brush thoroughly if you plan on using it for painting. Once you apply one coat let it dry. Paint the pumpkin and let it dry thoroughly.
Once your pumpkin has been cleaned out mix 2 tablespoons of bleach with 1 quart of water. Here using white wax and wax brush add the wax to the pumpkin. A spray bottle OR a bucketbowl to hold your bleachwater mixture if you use vinegar Id use it full strength with no water an old wrag or paper towels.
Trace the stencil on. Usually it takes a couple of hours to dry completely. Paint on your base coat.
After applying wax in sections very lightly wipe with a lint free rag. If you are using a real pumpkin them make sure you clean the surface thoroughly. I poured mine into an empty spray bottle but you could also mix the solution in a bowlbucket and dip your wrag into it.
The bleach will kill bacteria and prevent the pumpkin from molding quickly. I say lightly because you want the white wax to stay adding to the real pumpkin look. This will get the grooves dark and give it dimension.
Turn on ceiling or floor fans to a medium speed in the room where your paint is drying. Add the white wax a bit at a time and work it into the paint well with your brush. And for the last step dip in one third of the pumpkin in yellow paint and then let it sit to dry.
Use a small dampened paint brush lightly dipped in your second paint shade to blend the crevices of the pumpkin. Just make sure after each additional coat you allow drying time.

Pin On The One About Fall Thanksgiving
White Painted Pumpkin Diy Stonegable

Diy Faux Mercury Glass Pumpkins With Foam Pumpkins Foam Pumpkins Glass Pumpkins Dollar Store Diy

Rose Gold Pumpkins Use Metallic Copper Krylon Spray Paint To Evenly Coat Clean Dry Pumpkins Tape Off Stal Pumpkin Gold Pumpkins Pumpkin Centerpieces Wedding

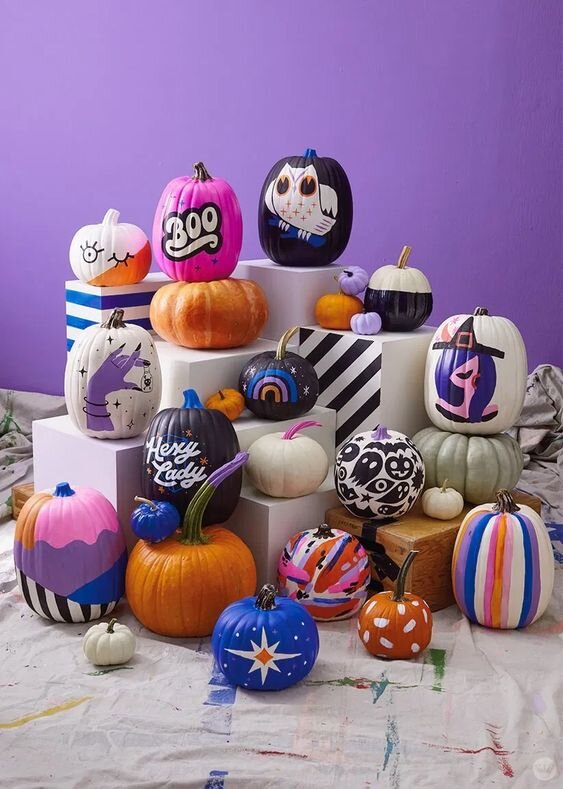
42 Creative Makeovers To Give Your Pumpkin This Halloween Pumpkin Decorating Painted Pumpkins No Carve Pumpkin Decorating

Tips For Painting Pumpkins Faux And Real A Wonderful Thought

Candy Corn Pumpkin Fast And Easy Way To Decorate A Pumpkin No Carving Needed Easy Pumpkin Decorating No Carve Pumpkin Decorating Pumpkin Decorating Contest
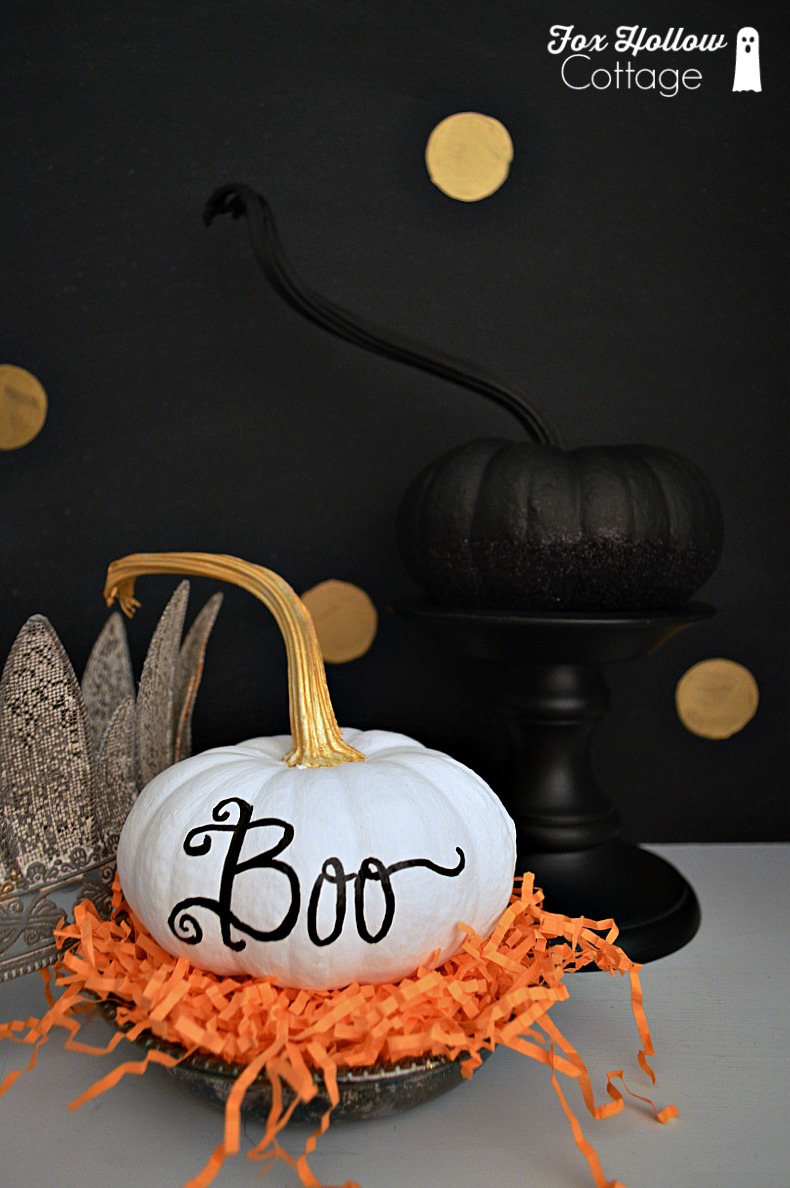
Painted Pumpkins Plus Tips For Great Results Fox Hollow Cottage

Pin By Miguelina Delgado On Crafty Craft Pumpkin Carving Pumpkin Christmas Bulbs

How To Paint Pumpkins The Right Way Scraplifters Com Pumpkin Painting Party Pumpkin Halloween Pumpkins Painted
White Painted Pumpkin Diy Stonegable

How To Get An Aged Zinc Look At Home With The Barkers Fall Diy Fall Crafts Crafts
White Painted Pumpkin Diy Stonegable
The Dummies Guide To Painting Pumpkins Laura Murray Creative

Vintage Inspired Chalky Paint Pumpkins By Mylittlecorneroftheworld Pumpkin Decorating Diy Fall Fall Pumpkins
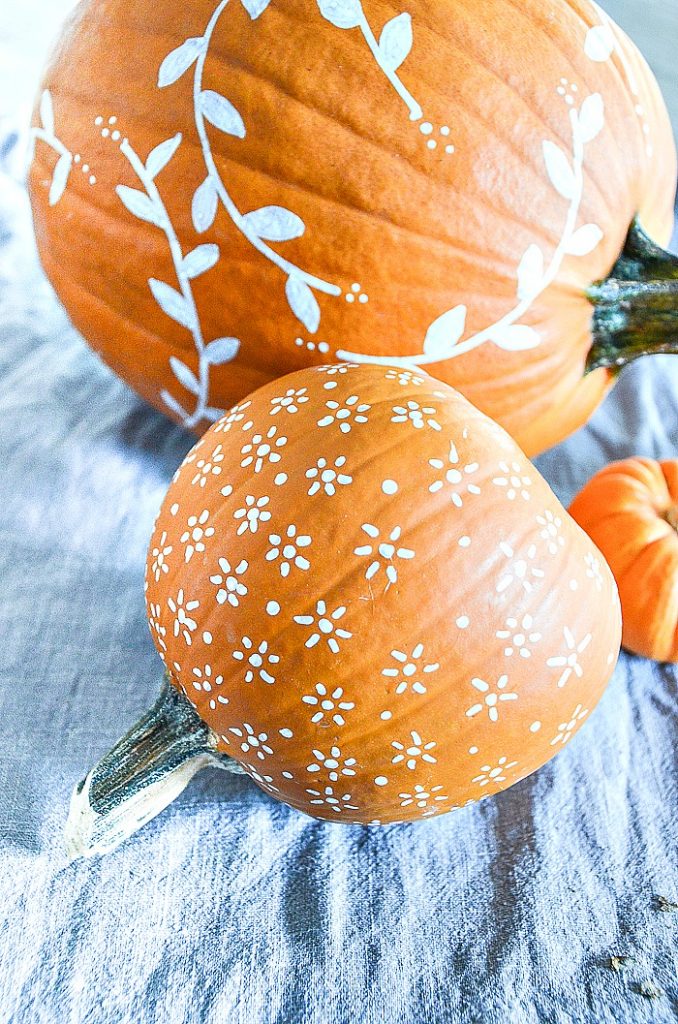
White Painted Pumpkin Diy Stonegable

White Painted Pumpkin Diy Stonegable
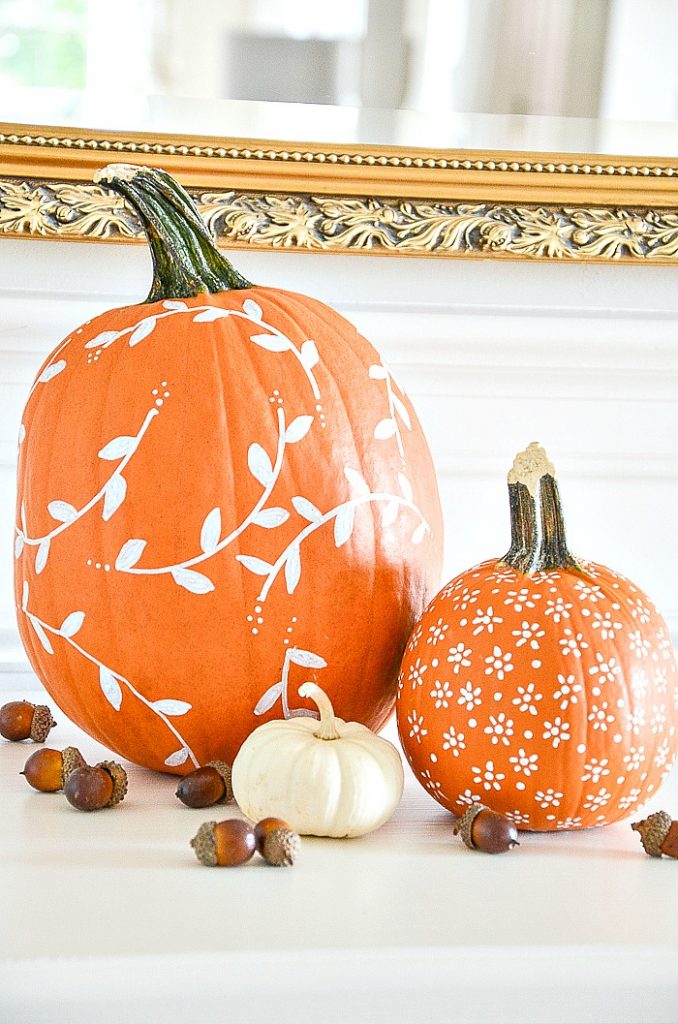
White Painted Pumpkin Diy Stonegable
Art Projects For Kids What You Can Do With Orange Tape Halloween Pumpkins Pumpkin Decorating Halloween Crafts